
Blog
Making a rocking horse: Choosing the materials
3 November 2022
First, here is a picture of Pumpernickel being ridden by the girls. (Not my girls, just borrowed from a friend).
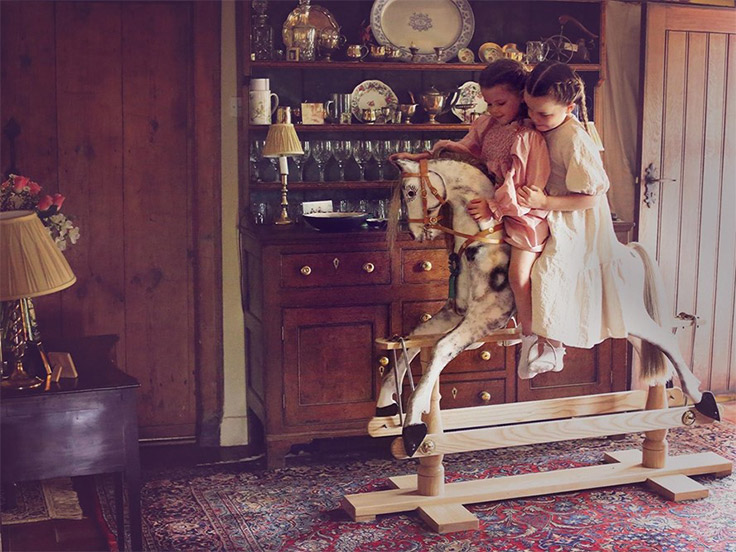
As I have said before, the better materials you use the better the result. You can see here the lovely grain of the ash and how well you can carve poplar wood. I used to use jelutong but I think it is now a protected species. Together with basswood, lime wood poplar is hard enough to hold a good shape or pattern, but not too hard as to blunt the tools too rapidly, or to require excessive force with the mallet or gouge. Poplar is a good compromise and it is readily available and not so expensive as to make the rocking horses overly priced.
One slight problem with poplar is that there is a lot of natural variation in the density of the grain and some parts of it are much darker than others which make it look almost like a different wood. The dark areas are also much harder than the lighter areas. This is good for the durability of the carving, but quite a bit more challenging to carve.
My preferred finish to the horse is a gesso covering followed by dapple grey painting and a couple of coats of varnish. This helps to protect the wood and makes it easy to keep it clean. The gesso also saves a lot of sanding as the surface of the Rocking horse needs to be very smooth and free from splinters etc. I use guilder's whiting from Alec Tiranti of London. It’s basically made from chalk water and a binder. I used to use rabbit skin glue as a binder, but you need to apply that while it is hot. Now I use a P.V.A. glue just as you would find in artists' gesso. I do not add any whitener such as titanium oxide paint as it's white enough for a horse already and I don’t want it to look unnaturally white.
After the carving is finished, I apply five to seven quick coats of gesso in succession to build up a layer a couple of millimetres' thick. This protects the wood and is easily sanded so any imperfections can be removed. Though I do not remove all of them as I am happy for some of my marks to remain to tell their story in the future. Like all good rocking horse makers, I sign them on the inside so that any restorer who takes the horse apart in the future will know who made it. Some rocking horse makers leave messages inside as well.
For the black dapples and the red of the ears, eyes and nostrils and the white of the teeth I use an acrylic enamel paint by Polyvine, a UK supplier who also make the glue. I use Cascamite resin glue which is very strong and classified as an exterior grade - not that I expect the rocking horses to be left outside in the wet - but it is a really strong glue. I also use Cascamite because it is a dry powder which you reconstitute in water. This means that even if the workshop gets very cold (Below -5 degrees C), it will not be ruined, as can happen with liquid based glues such as PVA glue.
At the moment I buy in horse manes and tails which are made from real horsehair, glued onto a mesh and nailed into a groove on the horse’s neck or glued into a hole in the bottom of the horse and wedged for its tail. Though I am working on a safe and economical method of tanning the hides so that I can go back to the original method of nailing the hide with the hair on directly to the horse’s neck.
The saddlery is made from high quality vegetable tanned leather and is either nailed on or removable saddle versions are available. All the bridles are removable. I much prefer the nail on saddles because they give the child a firm place to sit and are always fixed properly to the horse.
Now the eyes are very important as everyone’s eye is drawn to them. They must look real and have their own glint. The horse needs to be able to see its rider! My grandfather Richard did not use glass eyes. His horses had wooden carved eyes painted to look real, and sometimes I believe he used brass nails to give the eye some more sparkle. I expect that this was to save money or to follow the tradition of whoever’s horse had inspired him to make his own. I use glass eyes as I think that they give the rocking horse a more realistic look.
We always use real brass stirrups and buckles as they look better than steel ones or toy ones. I always say it is best to put good tack on a horse, as after all I have spent three weeks at least making the horse and stand, so I don’t want to spoil the ship for a h’aporrth of tar, as my mother used to say.
The nail on saddles are nailed on with wire nails and the heads of the wire nails are hidden by fancy brass upholstery nails. The removable saddles are screwed on to the horse in such a way as to allow the saddle to be removed by undoing the buckles on the girth strap.
I finish the horse with a crupper to keep the tail hair high up at a jaunty angle. The martingale is finished off with a brightly coloured ribbon and fancy brass disks.
As you can see the mane always gets a lot of attention from children and may eventually need to be replaced. But, in my experience, that is after two or three generations of love.
To keep your Rocking horse in good condition, clean occasionally with a damp cloth, use some saddle soap or furniture polish on the leather strapping and occasionally some brass cleaner on the bowler hats or swing iron clamps. Keep the brass cleaner away from the leather as it will stain it and remove some of the natural oils which keep it shiny.